Using Sheeta AI
Importing Data
Sheeta AI imports files into a new table or an existing table in the active connection. Imports work with every supported database: PostgreSQL (including Supabase, Neon and Cloud SQL), MySQL, SQL Server, BigQuery and SQLite.
Supported files
- CSV (
.csv), with a header row. - Excel (
.xlsx,.xls). Each sheet becomes a separate item to import. - JSON (
.json): an array of objects, an object of arrays, or a single object. - SQLite (
.sqlite,.sqlite3,.db). Each table in the file becomes a separate item to import.
Start an import
You can start an import in several ways:
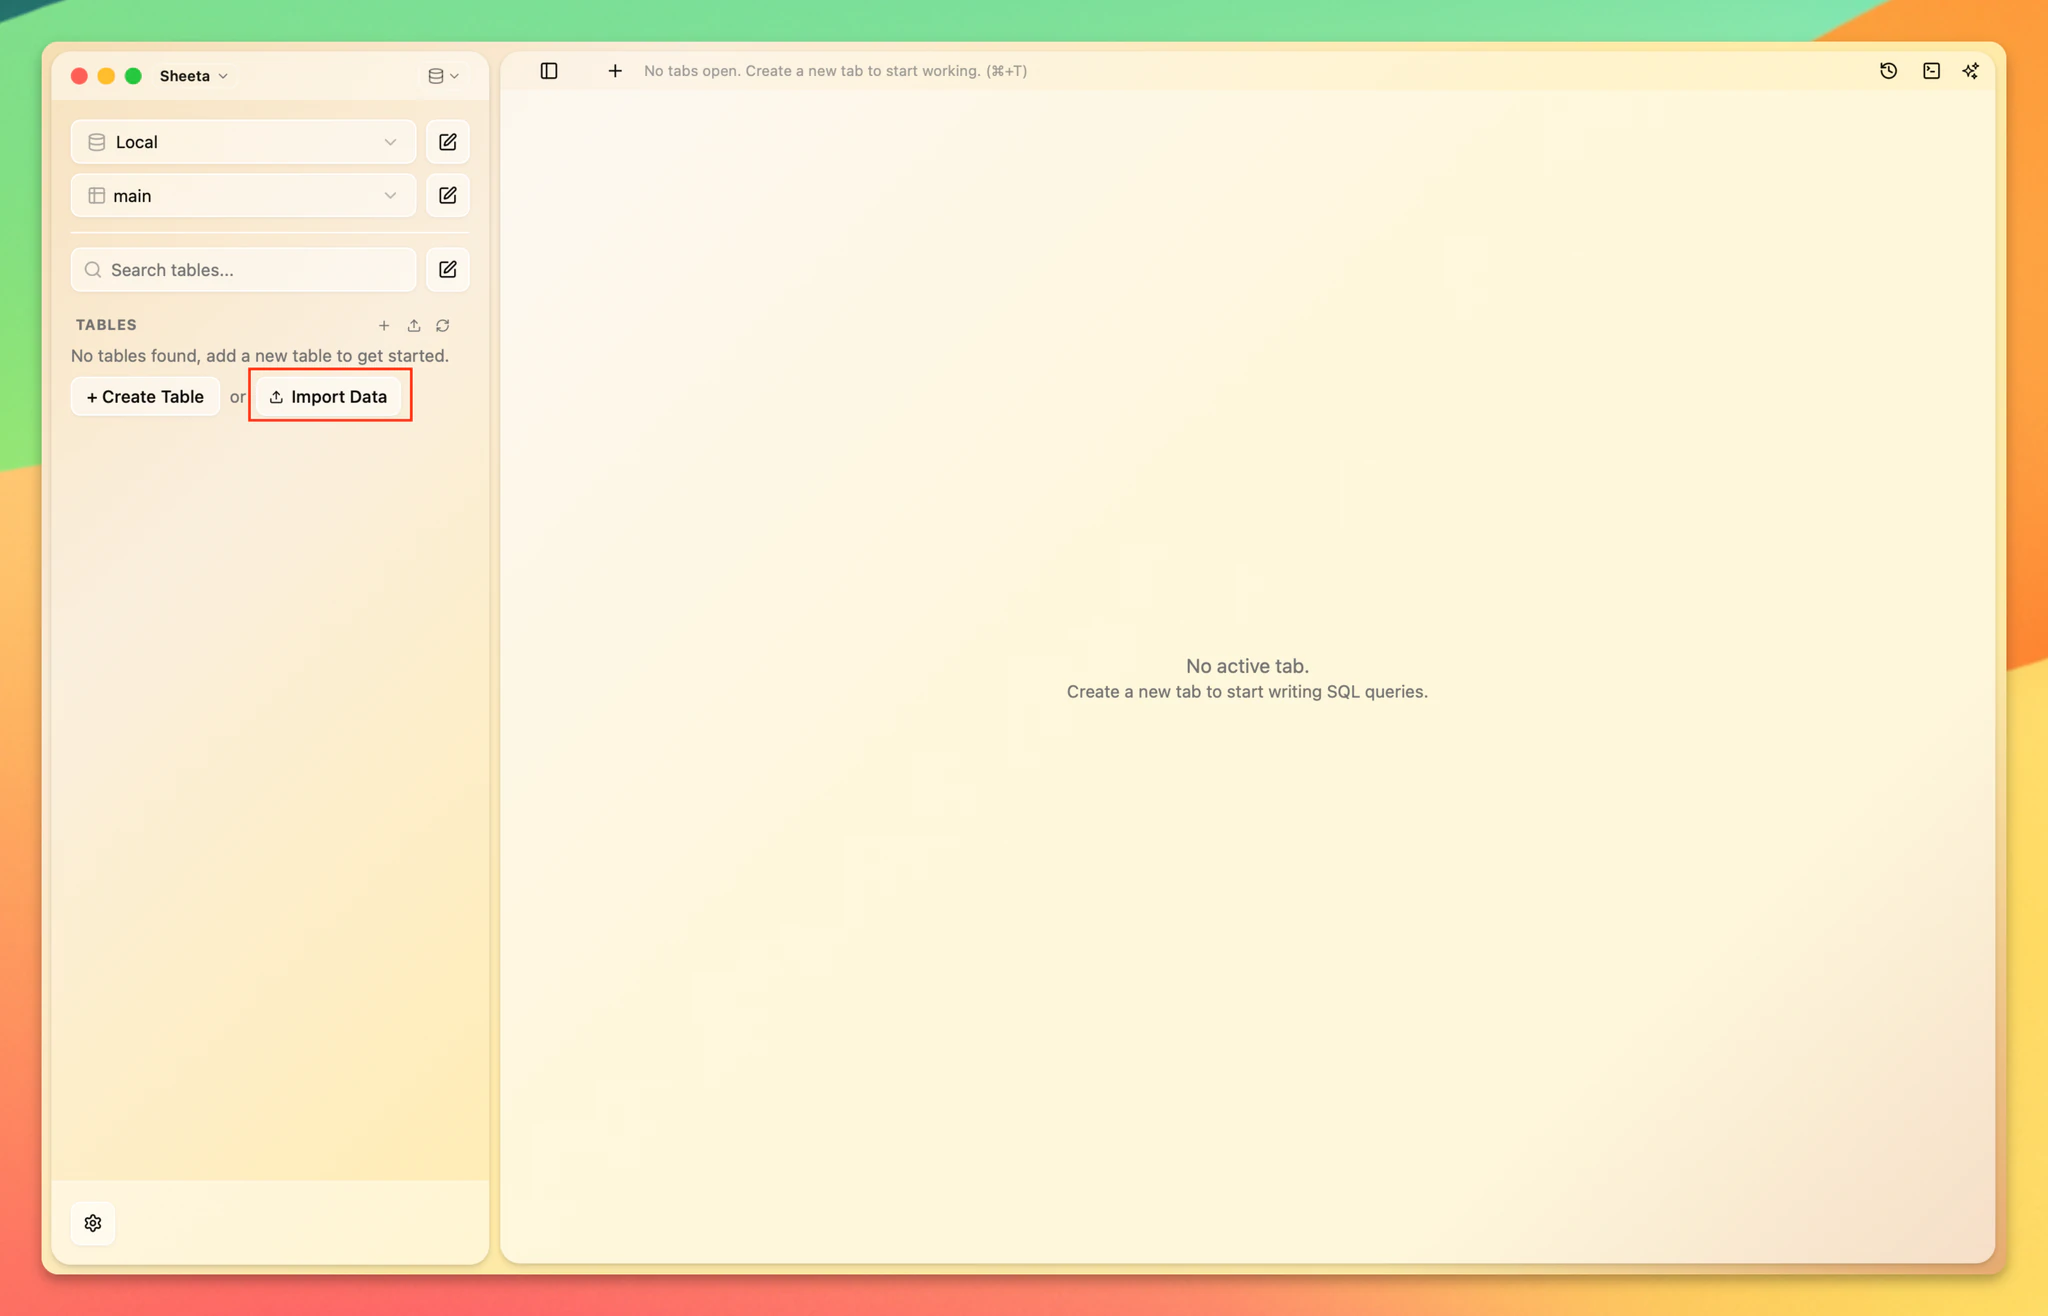
- Click Import Data in the Database sidebar, or press Cmd+Shift+N / Ctrl+Shift+N. You can pick several files at once.
- Right-click a table in the sidebar and choose Import Data.
- Drag files from your computer onto the Database sidebar.
- Right-click a supported file in the file explorer and choose Import to Database.
- Open a CSV or Excel file and click Import in its preview.
Configure the import
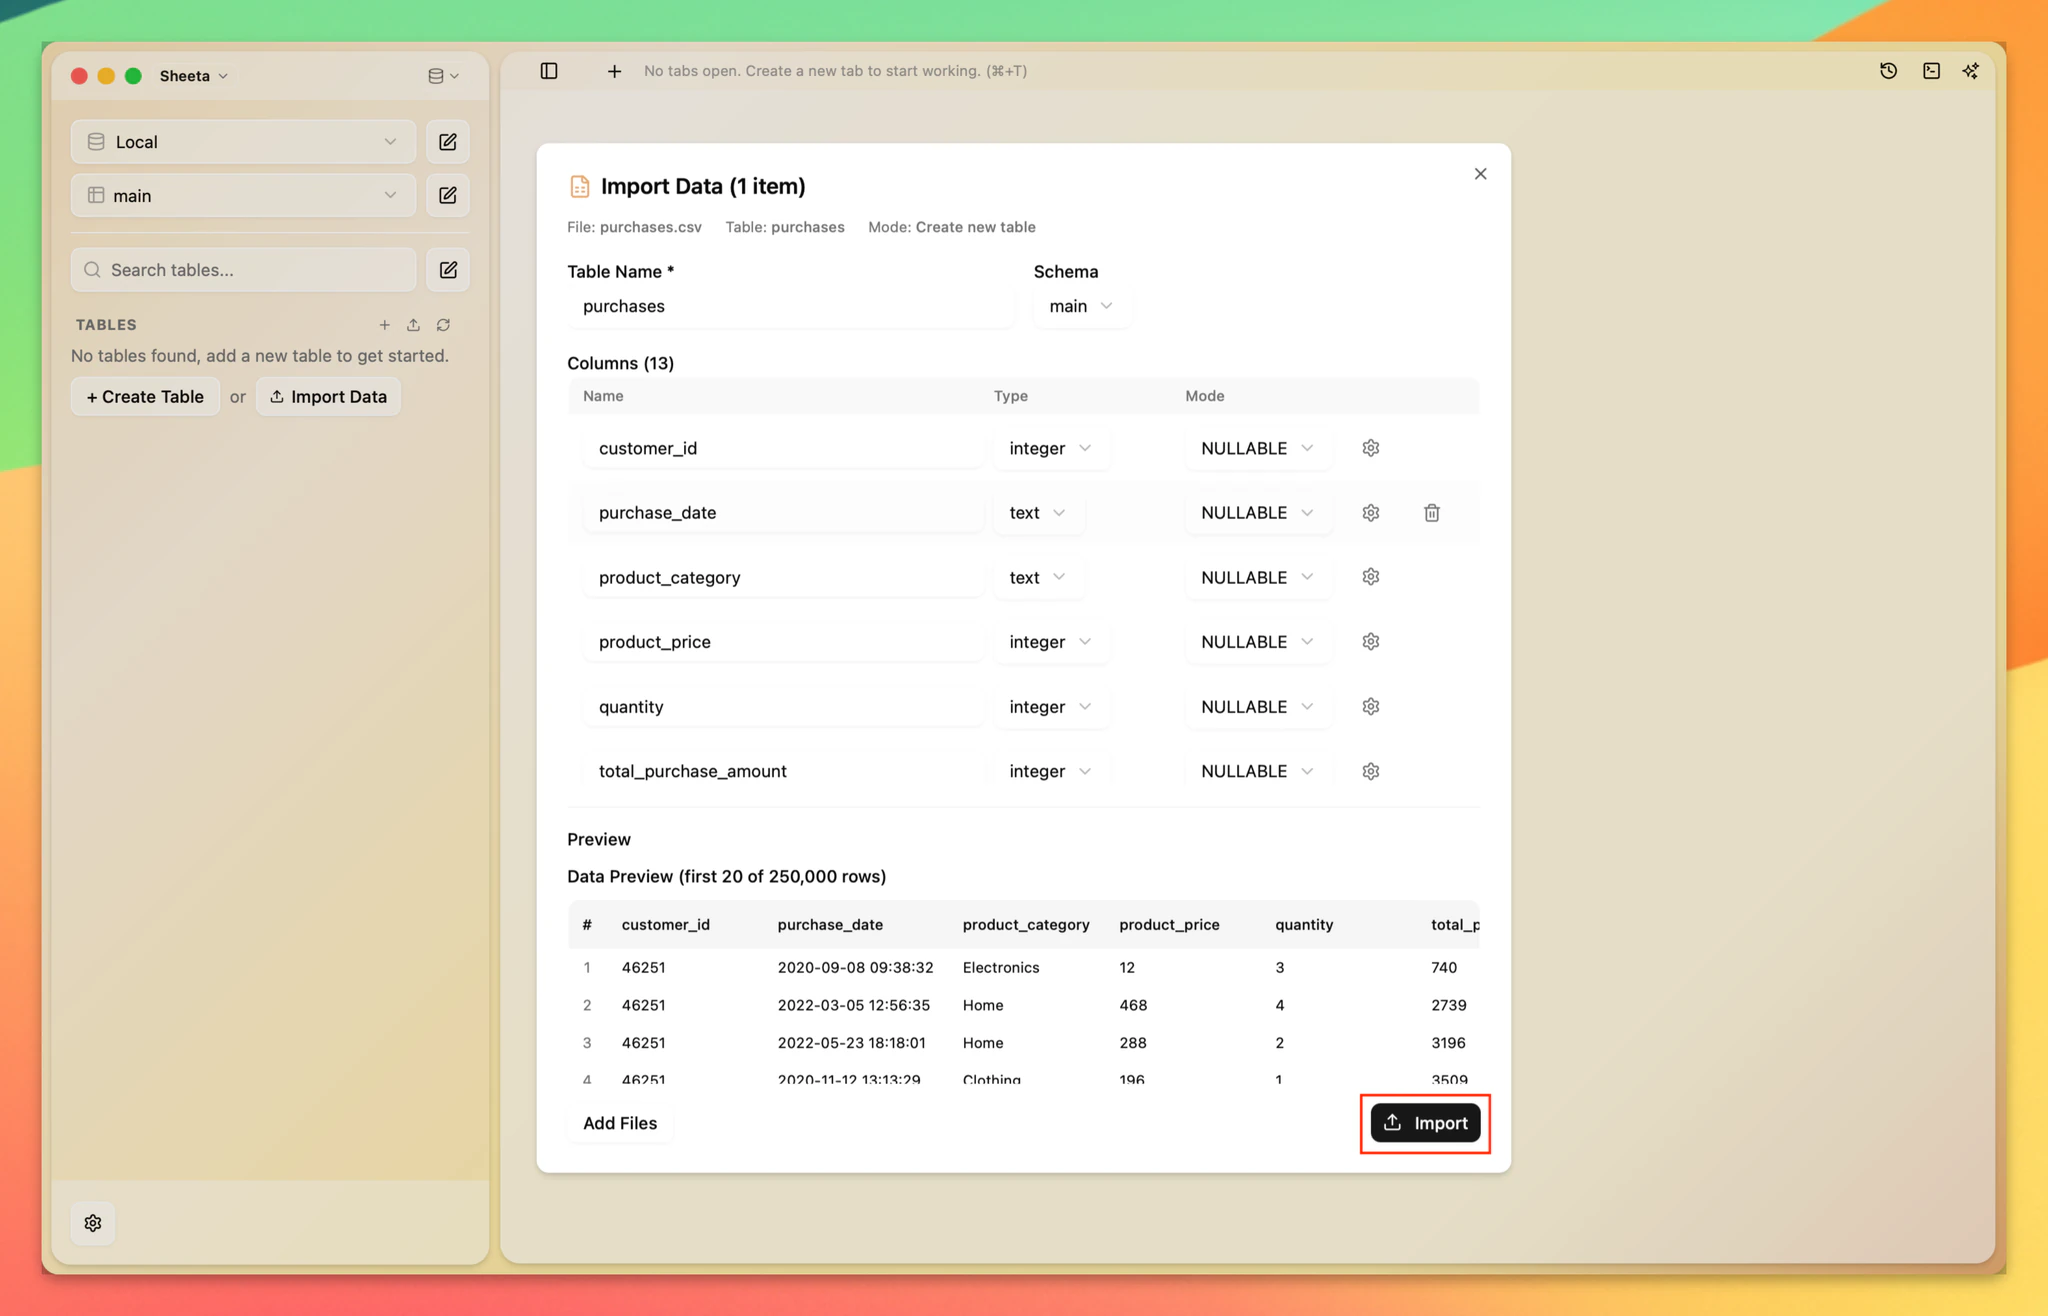
The Import Data wizard shows one tab per file, sheet or source table. Each item shows a 20-row Preview and is marked Create new table or Insert into existing.
- Set the Table Name and Schema. If a table with that name already exists, the item switches to importing into it.
- For a new table, review the Columns list. Sheeta AI detects each column's type from the first 50,000 rows. You can rename columns, change types, and set defaults and primary keys (PostgreSQL) or the NULLABLE or REQUIRED mode (other databases).
- For an existing table, map each file column to a table column in Column Mapping, or choose -- Skip --.
- Click Add Files to add more files to the same import.
Run the import
Click Import to import the current item, or Import All to import every item. Rows are inserted in batches of 50,000. Progress shows per file and overall, and a message confirms how many rows were imported into each table.
In Sheeta AI 0.5.2, cancelling an import only marks it as cancelled in the app. The import itself keeps running until it finishes, so check the table afterwards.
Next steps
Open the new table to explore it in the Data Explorer. The Quickstart walks through a complete CSV import.